
Git is a distributed version-control system for tracking changes in source code during software development. It is designed for coordinating work among programmers, but it can be used to track changes in any set of files. Its goals include speed, data integrity, and support for distributed, non-linear workflows.
A Git repository is the .git/ folder inside a project. This repository tracks all changes made to files in your project, building a history over time. Meaning, if you delete the .git/ folder, then you delete your project’s history.
Below, we will learn how to clone or create projects in git repository through Interplay for developers to check each others changes they've been working on.
- Connecting to Git account
The team can share and collaborate their work to stay updated on any project via GitHub. This can be done by simply connecting a Git account. Follow the below steps:
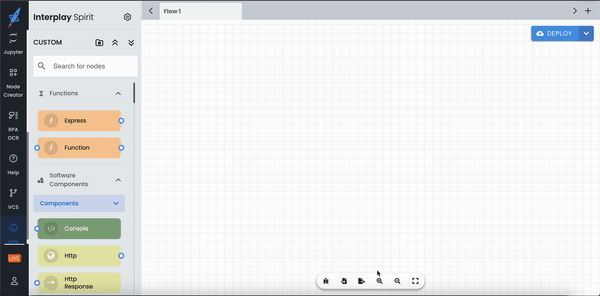
Step 1: Click on folder icon which is beside your project name.
Step 2: Select Create Project. You will find Configure Git client option, click on the same.
Step 3: Enter your respective details and Git credentials as requested. (*Git password will be your generated access token and not your account password)
2. Creating a project
Once the Git account is connected, we can create, clone and push changes to Git. Below are the steps to create a new project
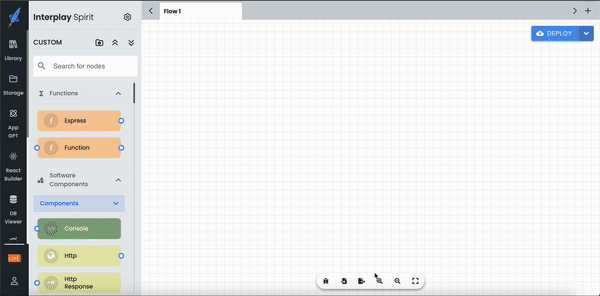
Step 1: Click on folder icon which is beside your project name.
Step 2: Select Create Project. Now you cannot see Configure Git client if you have already connected using previous section.
Step 3: Fill the desired details. You can also enable or disable encryption for more security. Remember to save encryption value if selected as this would be required for cloning the project as described in next section.
Step 4: Select Open Project to open and work on selected project.
3. Cloning a GIT project
We can clone the repositories to test and work with the team. Cloning a repository can be done by following steps
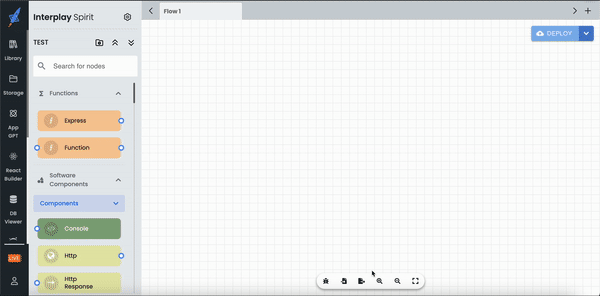
Step 1: Click on folder icon which is beside your project name.
Step 2: Select Clone Repository. Enter the relevant Git details as requested.(*Git password will be your generated access token and not your account password)
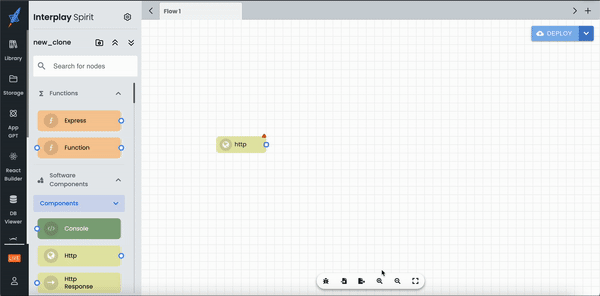
Step 3: Enter the encryption value if you have enabled encryption in the previous section or leave it blank if disabled. And click on Clone Repository button at the bottom-right. After successful cloning, you can see your project on Open Project tab.
4. Pushing changes to Git
All the updated work can be pushed to Git so that the team is also updated with the changes. We can push the changes using the steps shown below:
Step 1: Select VCS from left side menu. We can pull or push the code from this page.
Step 2: All the files added or updated can be seen in VCS page. You can select any existing branch or even add a new branch by simply entering the name.
Step 3: All the updated or changed files can be seen in the list. We can select a file to view its changes in the same page.
Step 4: We can commit and push the changes by simply adding a commit message below branch menu.