To Create an Instance/Application:
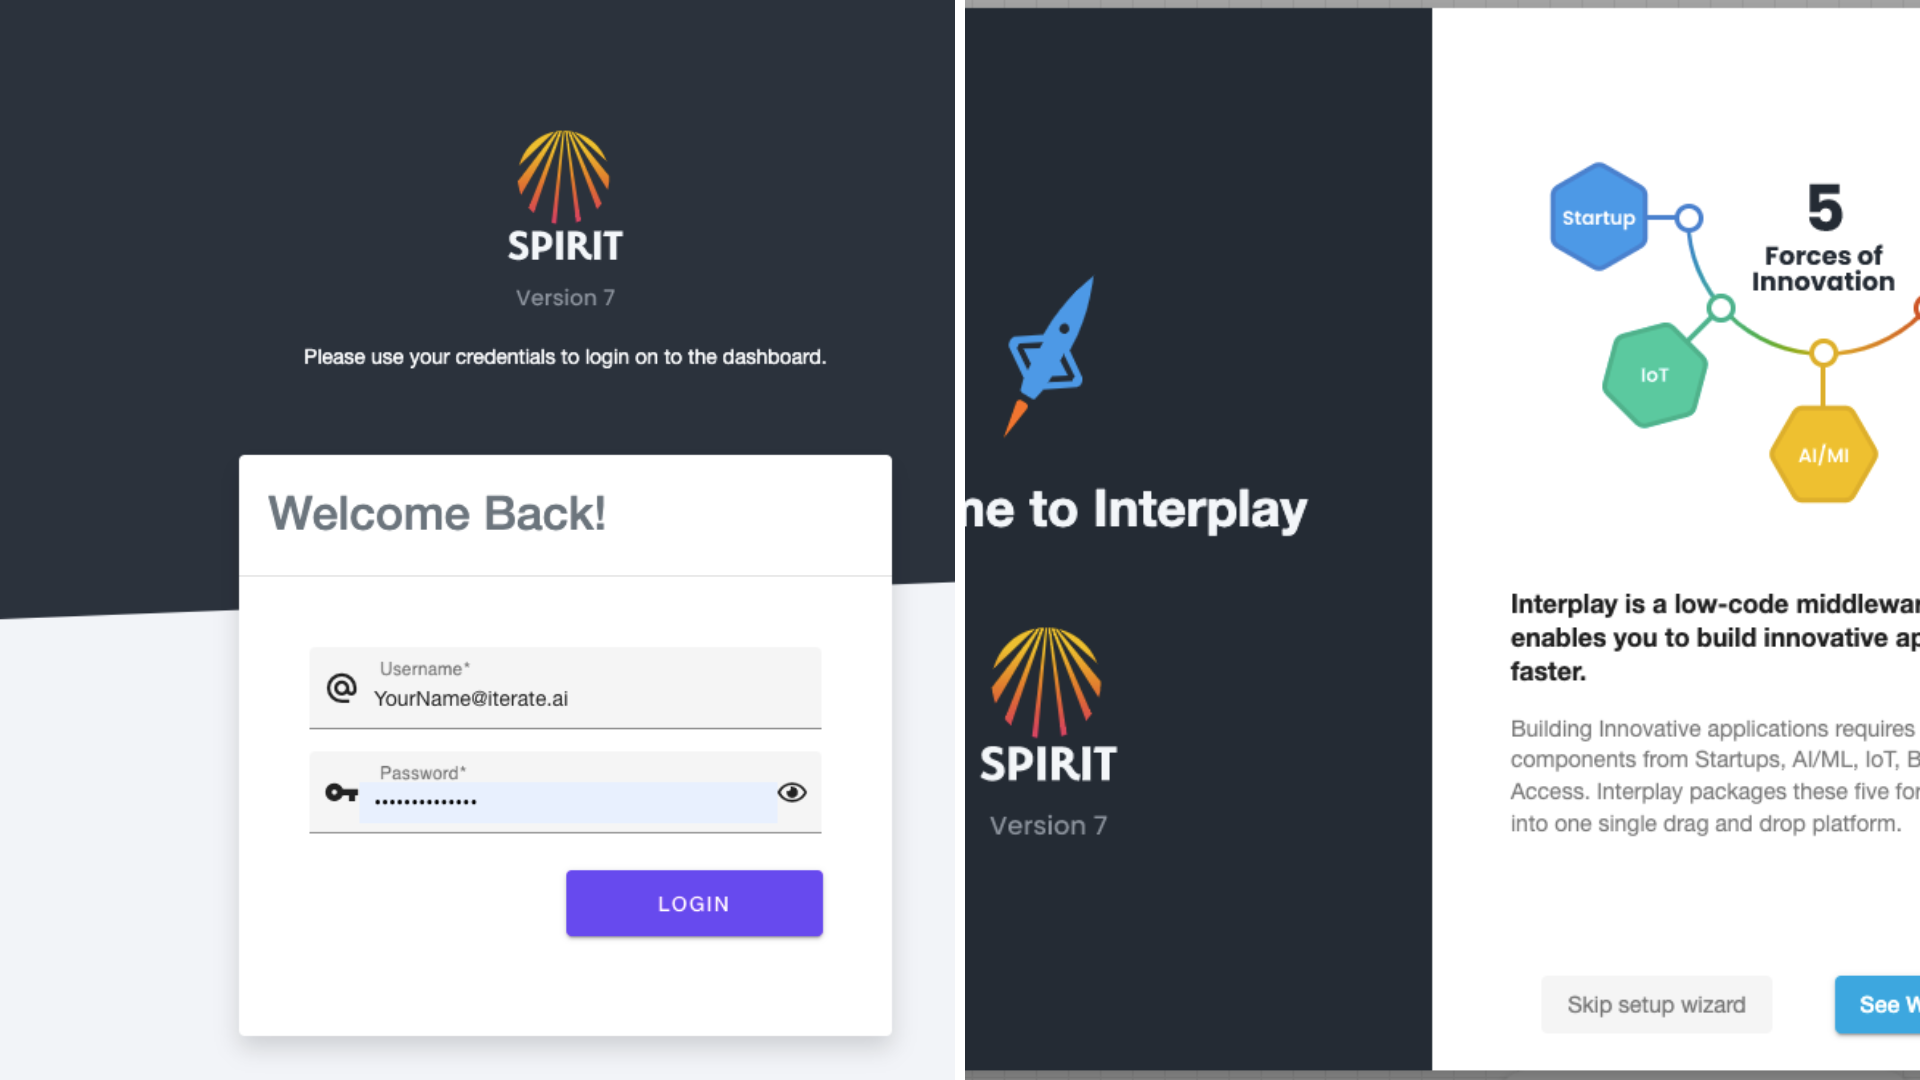
1. log in to Interplay with your credentials.
2. Click on "Create New Group" (upper left corner) and name that group with a description.
2. Click on groups " whatever group name you gave" (upper left corner) and select "New Application"
3. Select the group and name the domain name (your name or give any name) for the instance/application.
4. This domain name will be your application's URL so give it a name you can remember. i.e (https://(Name).interplay.iterate.ai) and click on Next.
5. Select the application type in most cases users will select "CUSTOM" (Essentials) and click on Next
6. Select the AWS EC2 instance location (Data Centers) and click on Next.
7. Select the EC2 instance size (Sizes) depending on the scale of the project. click on Next.
8. if you click on the instance you can adjust the instance size, autoscale instance size, and health check, or you can leave it as is and click on submit
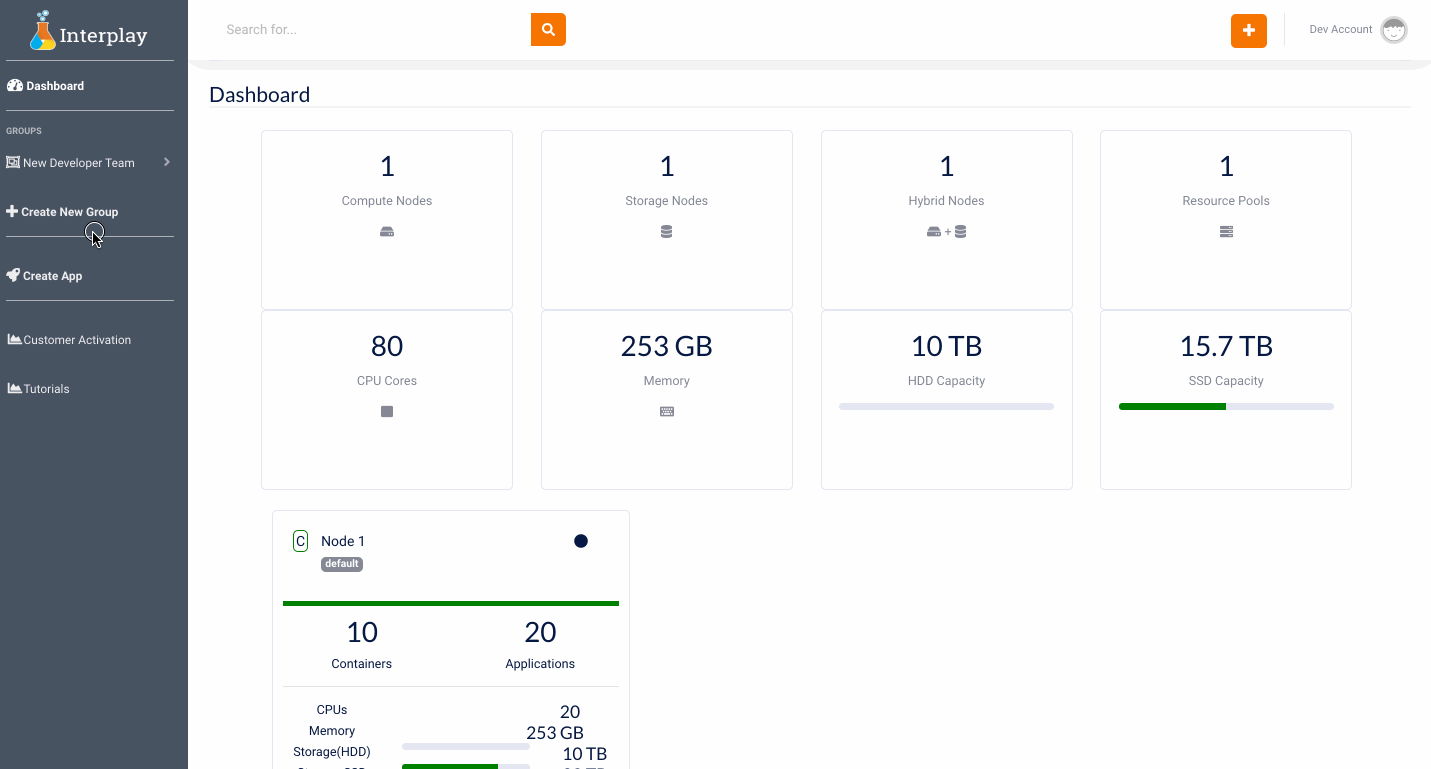
9. After you click on submit at the bottom of the homepage you will see your instance/application appear.
10. Click on the application/ Instance URL (https://(name).interplay.iterate.ai) and it will take you to the login page.
11. Login once again to Interplay with your credentials and click on login.
12. It will take you into Interplay's low code platform to start building applications.
13. You can go through the wizard to learn more about the features or skip the wizard.