
Create an Interplay Instance and Deploy
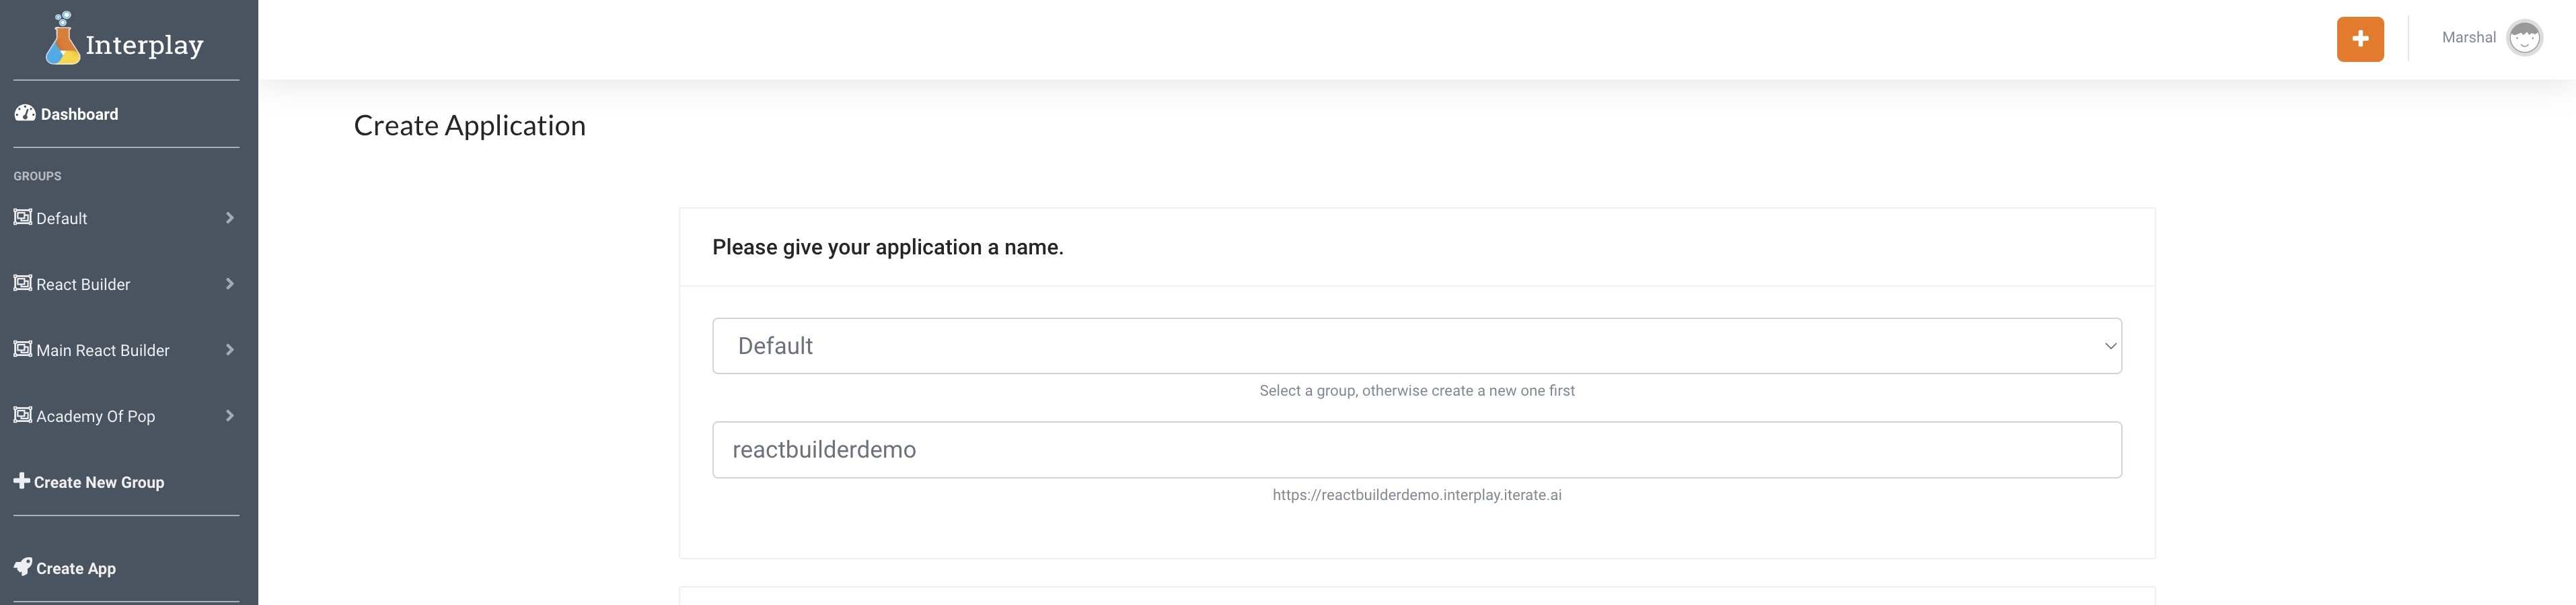
Log into your Interplay account and create a new application and select “Create App” and choose a Domain Name
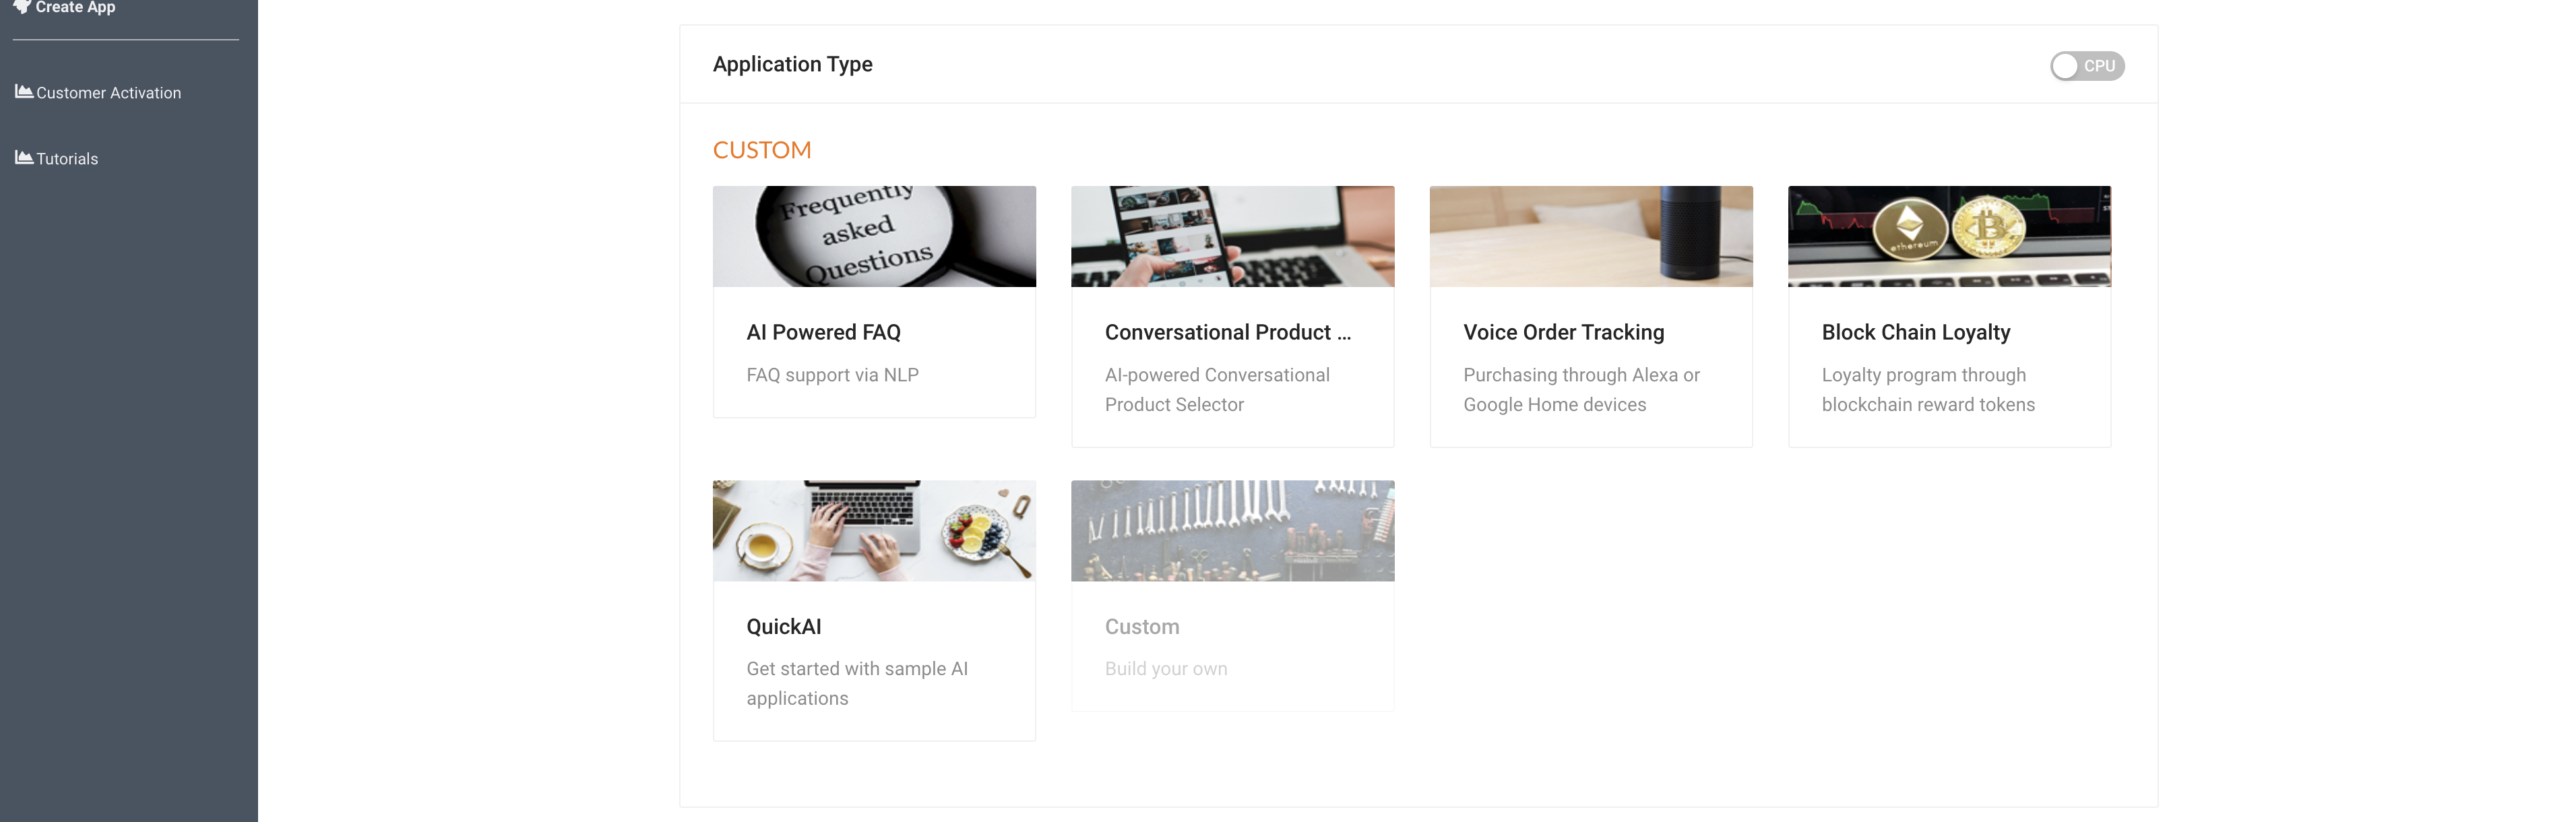
Select Application Type “Custom”
Select Data Center

Select Application Size (Nano is recommended for most apps)

Review information and hit submit to launch your instance

Select Interplay React Builder from the far-left sidebar within Interplay
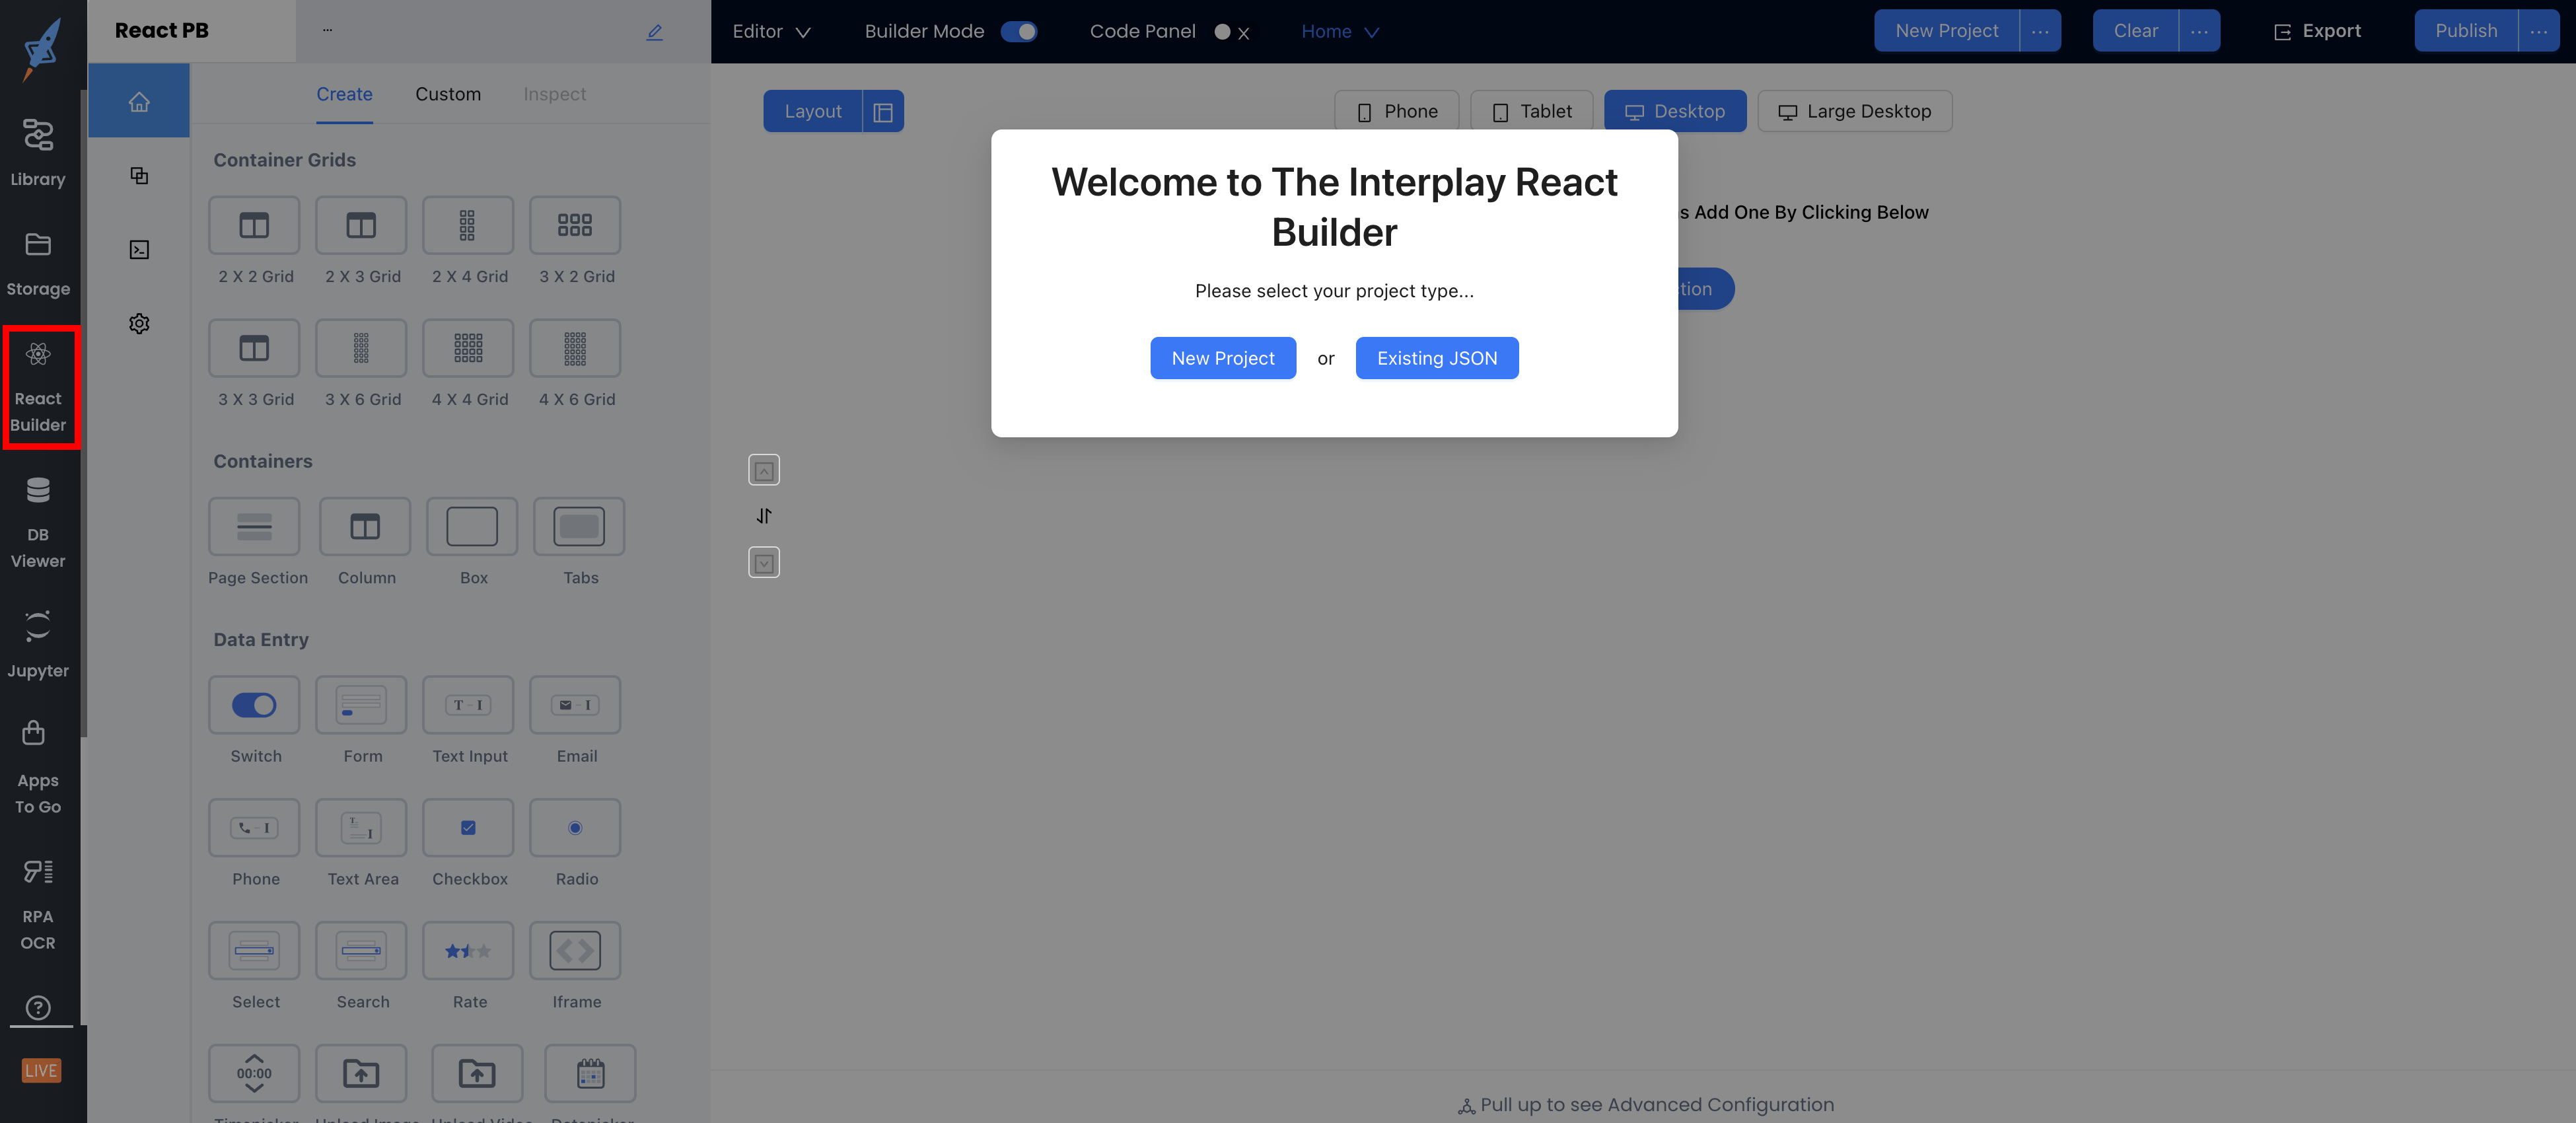
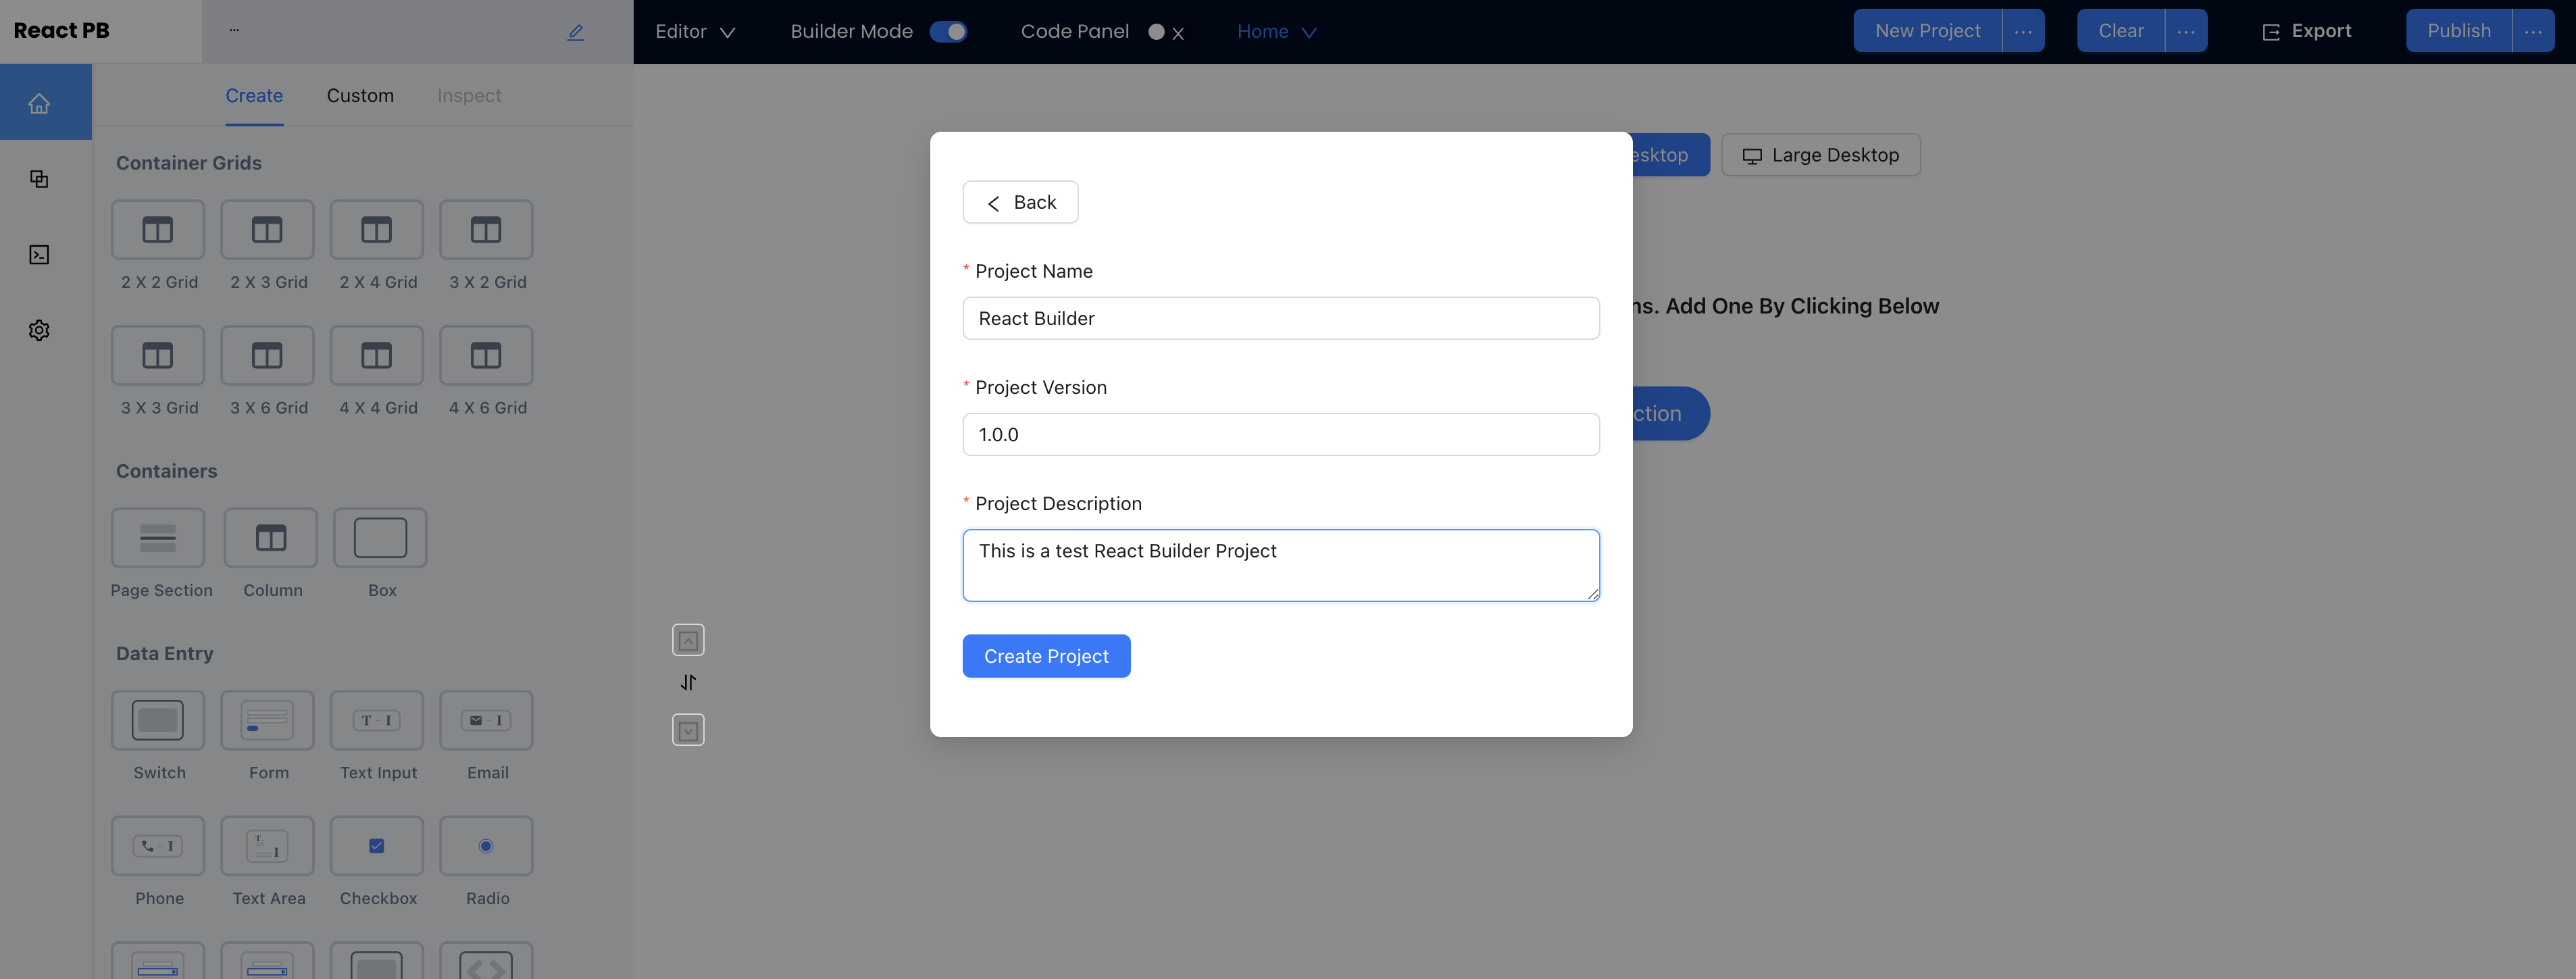
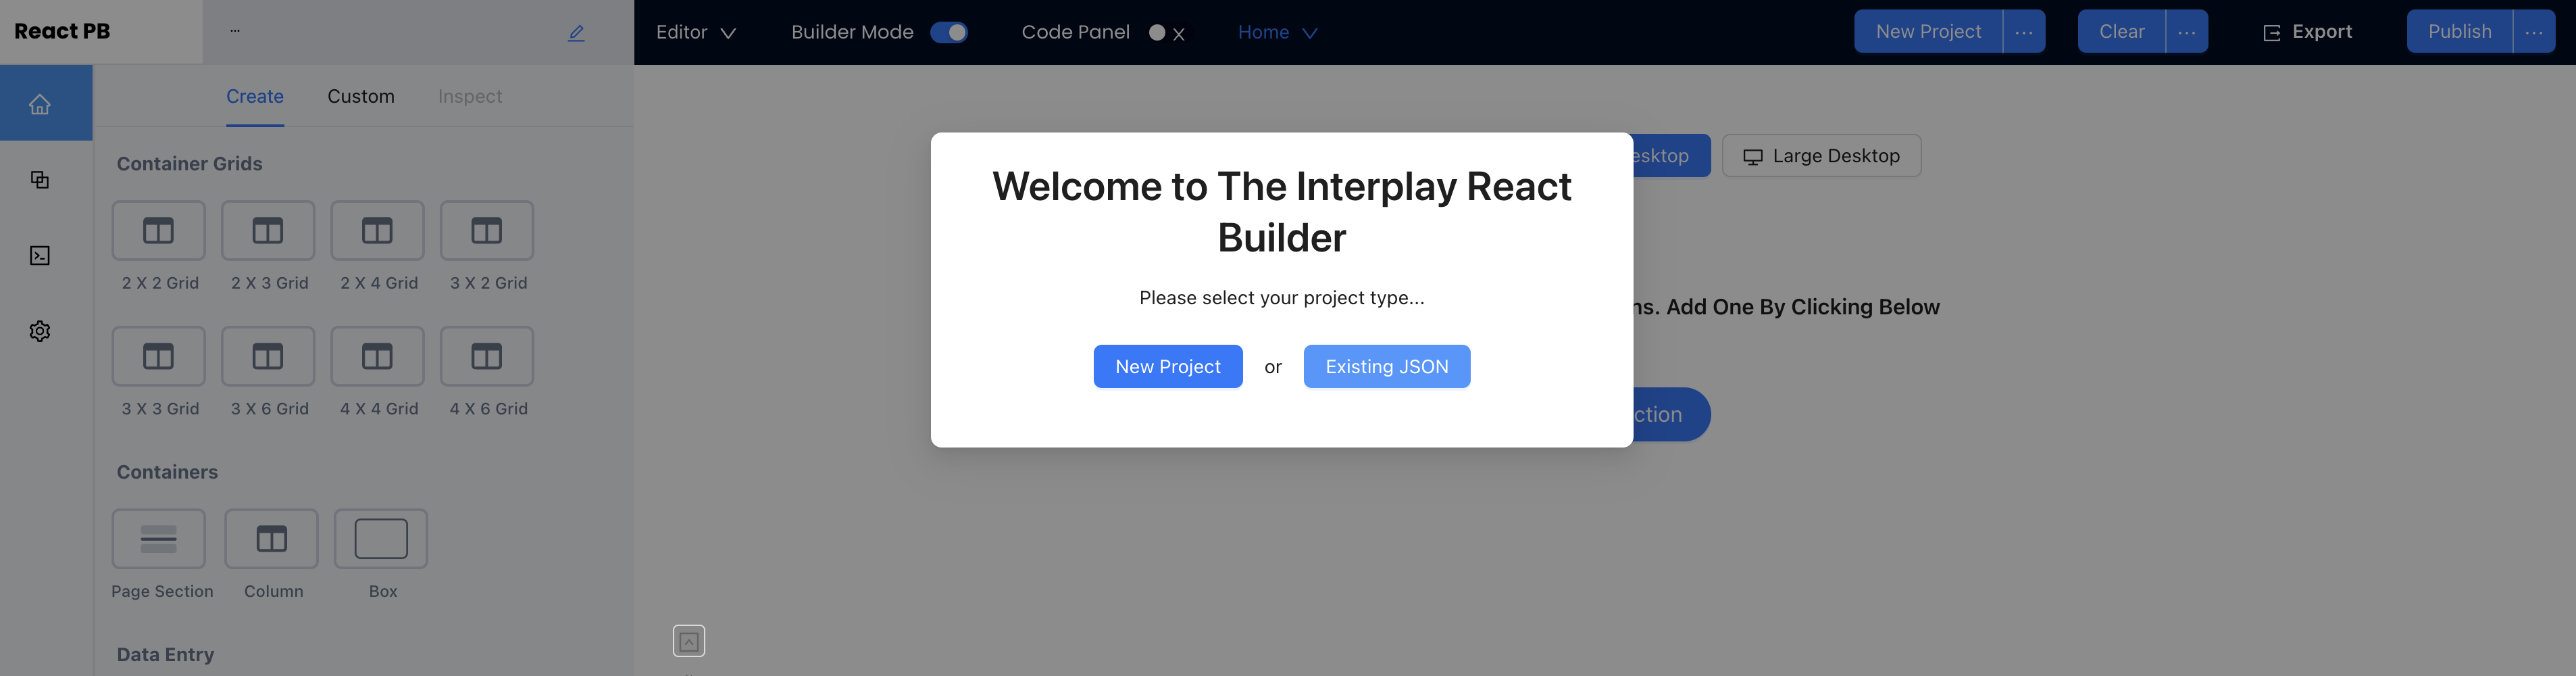
Create a New Project
New projects can be created simply by following the on-screen prompt. You can begin by Giving your project a name, version and description.
Use an Existing Project
Existing projects can be created in two ways.
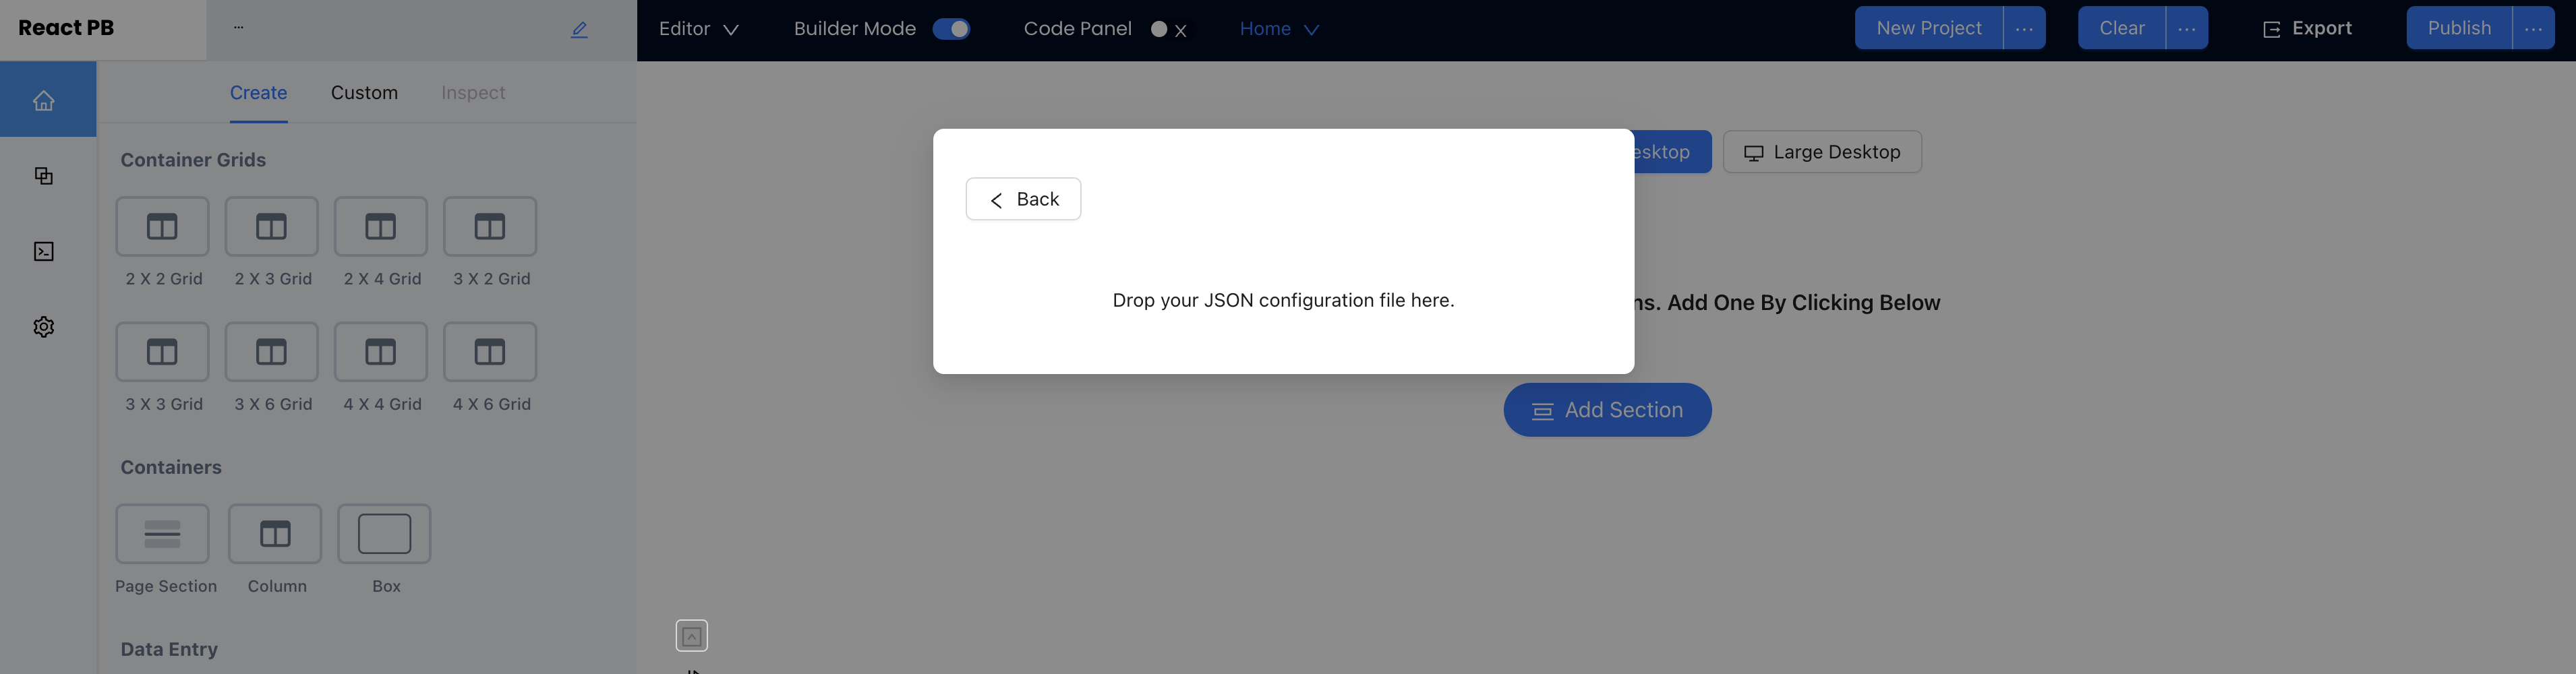
Option One: To maximize portability and varying developer workflows, the Interplay React Builder allows user to upload a JSON export file from any React Builder Project.
Option Two: From within Interplay, select the Drop down in the top navigation and select from existing projects shared with your team.
