This flow will allow you to upload a path layout image and start and end coordinates.
- It will output the optimized path between given start and end points.
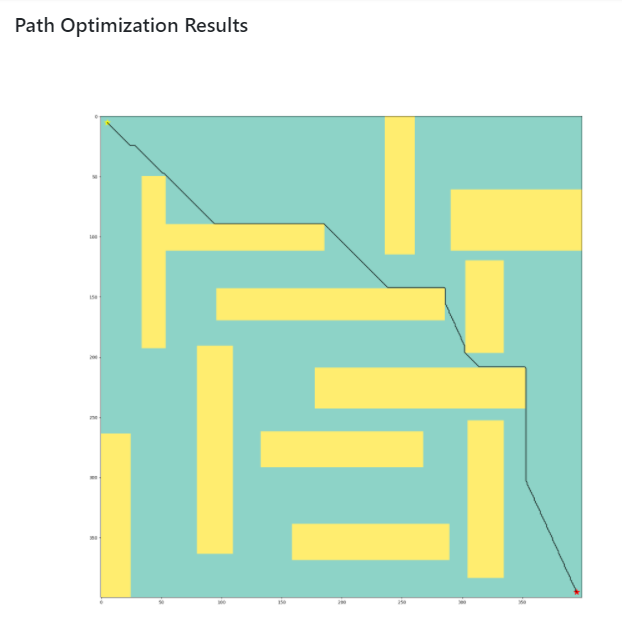
- optimized path can be visualized.
Here we will find the optimized path of the layout image shown below.

Step 1.
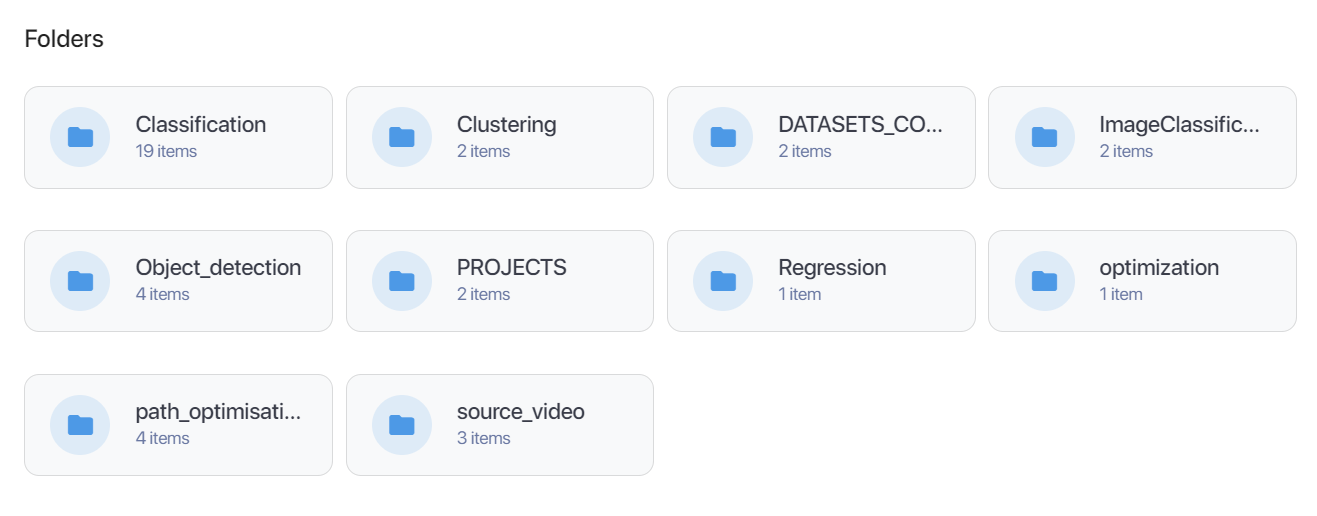
Check for the layout image in appropriate storage path (/DATA/path_optimisation/) or upload the image in that path. (Uploading a new image can be done in path_optimisation node too)

Step 2.
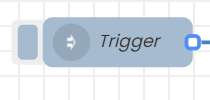
Drag and drop an Inject node and set the payload to timestamp and click done.
Step 3.
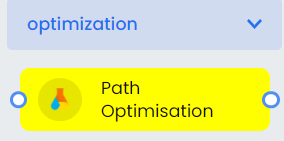
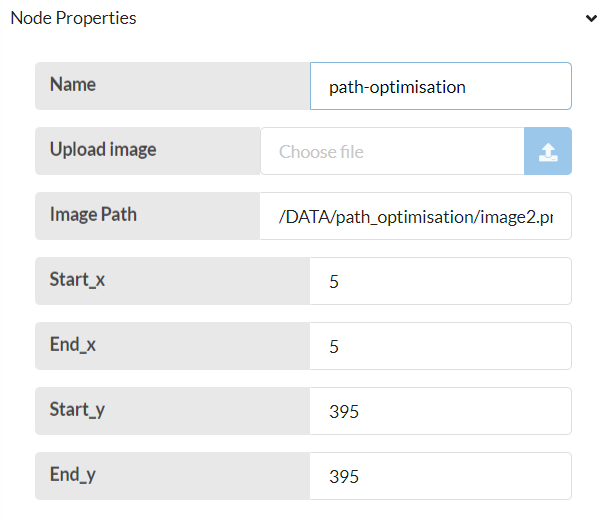
Drag and drop a Path Optimisation node under optimization and name it appropriately to the relevant subject. Here it is named as path-optimisation.
Step 4.
Change the name and check the Image Path or upload a new layout image that needs to be path optimized. Set start and end coordinates of the path. Click done and deploy.
Step 5.
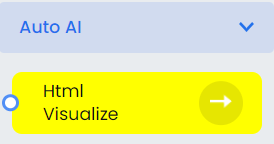
Drag and drop Html Visualize node under Auto AI and name it appropriately to the relevant subject. Here it is named as Visualizer.
Step 6.
Connect all nodes as shown below and click on deploy.

Step 7.
Click on the left side button of Inject node to optimize the path.
Optimized path can be visualized by triggering Visualizer node (click on the right side button)