In this tutorial, we will learn how to create a simple hello world page on interplay.
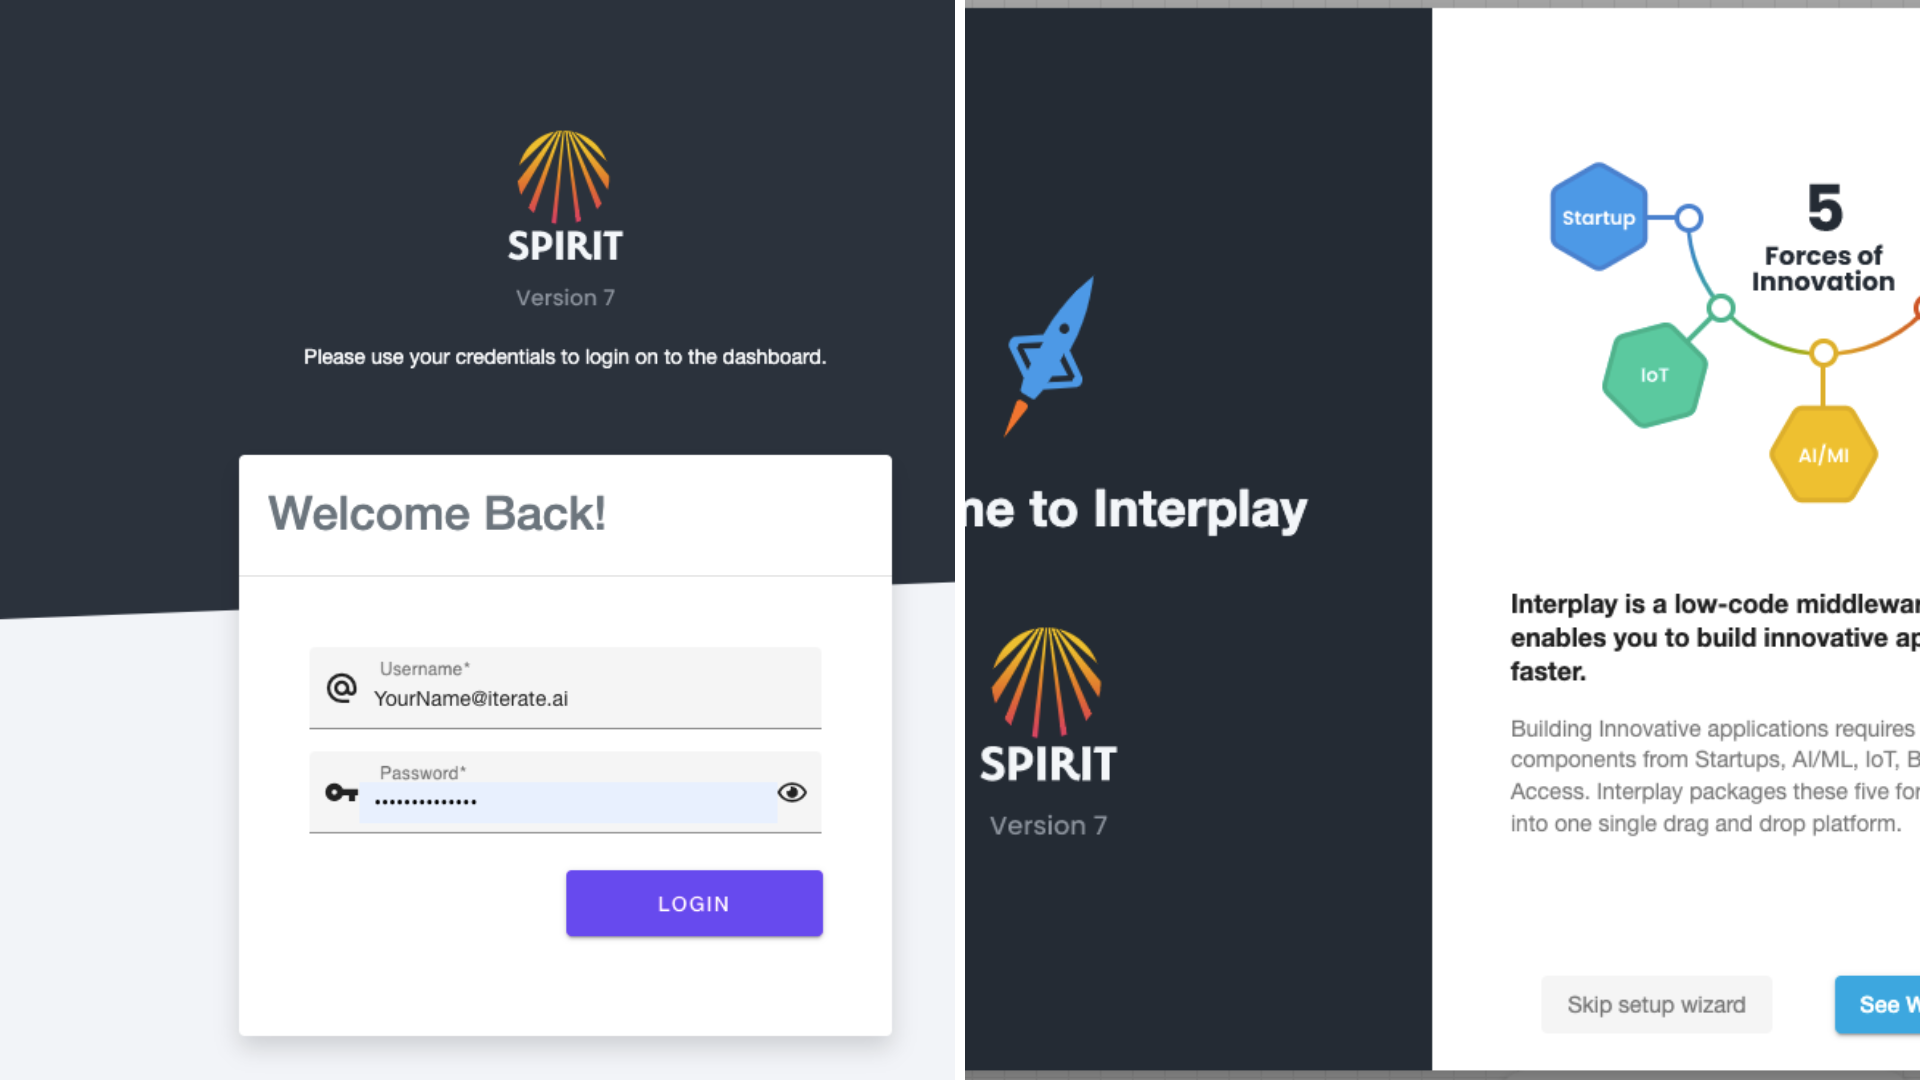
First Log into your interplay and create an instance if you're unsure how to create an Instance go to the create an Instance tutorial on the getting started page.
Step 1. Login to Interplay and click on skip the setup wizard
Step 2. Search for Inject node in the search box and drag it to the workflow. This node will start the flow. 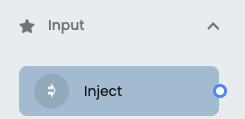
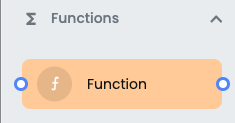
Step 3. Search for the function node in the search box and drag it to the workflow. In this node, we will work on the hello world feature.
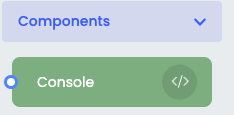
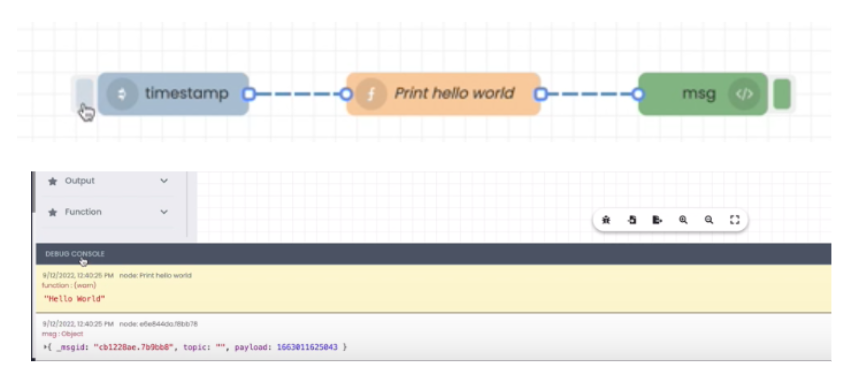
Step 4. Search for the console node in the search box and drag it to the workflow. This node will let you debug it on the fly. You can change its output to complete msg object) or leave it as a (payload) it's up to you.
Step 5. Connect all these nodes and click on deploy. Once you deploy the nodes not only does it deploy what you created but it also saves your workflow.

Step 6. Open the function node and name it "Print Hello World" add node.warn("Hello World"); now save and deploy.
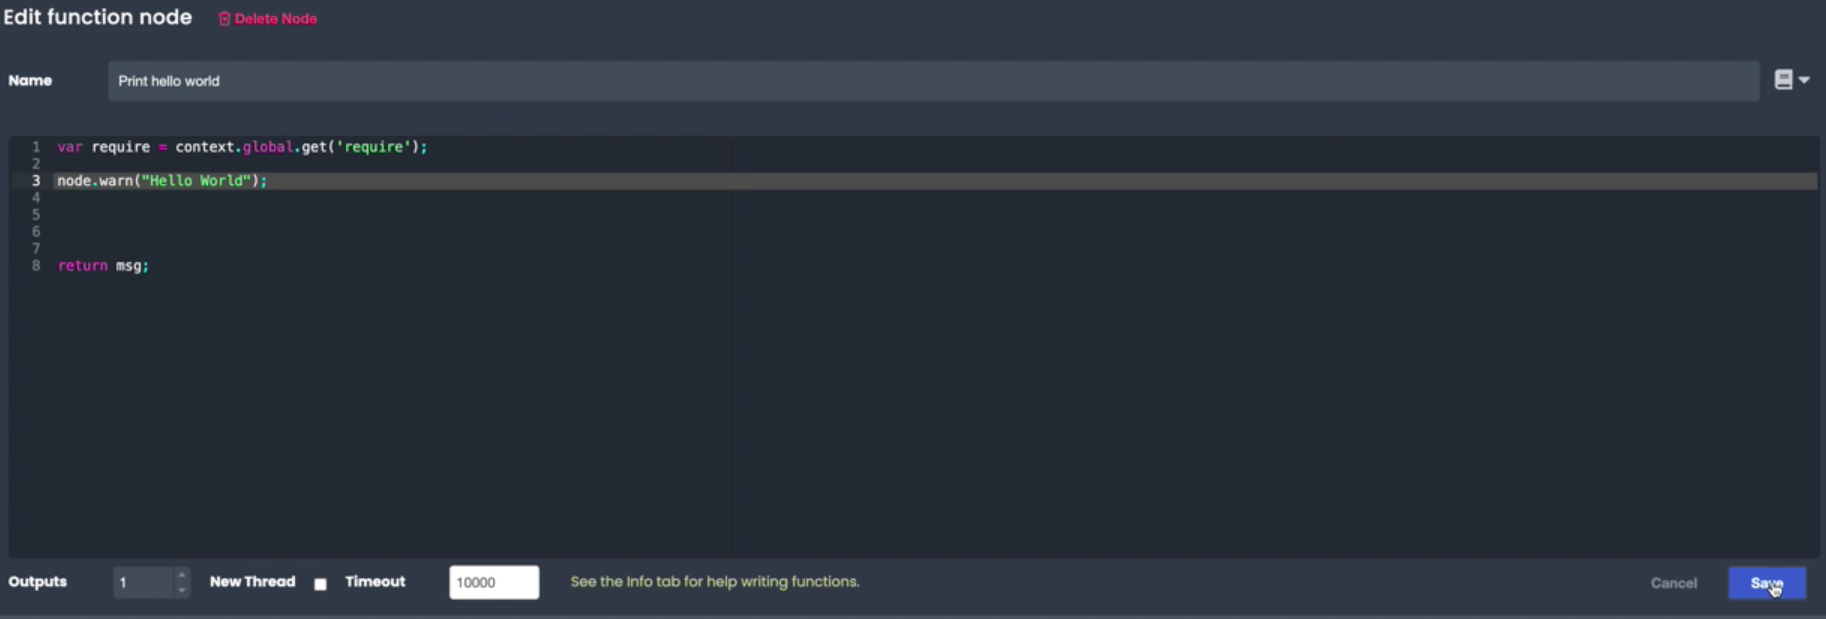
Step 7. once you deploy it click on the inject node button (timestamp) and check the debugger as to what it reads. As you can see it reads "Hello World" if you click on the node Print Node Hello World in the debug console it will highlight the function node and if you want to see what your msg object says you can click on the _msgid
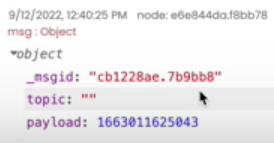
Step 8. Now instead of printing a Hello World, you can create a welcome message by opening the function node and adding (msg.welcome_message="Hello world";). Click on save, deploy, inject and click on the debug console

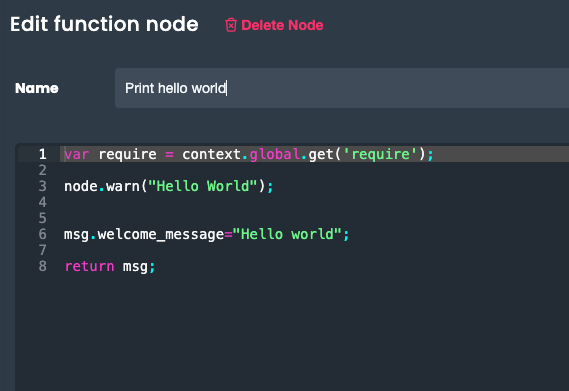
Step 9. You will now see the welcome message "Hello World" being printed on the msg object. This is the fastest way to create a hello world.

If you would like to view this tutorial as a video click on this link
https://www.loom.com/share/da28496d3c4a436e8993a7b8f34a5704