This flow will allow you to upload a dataset with labels as an input and train a classification model. The trained model can be visualized. Predictions can be done for selected dataset with trained classifiers.
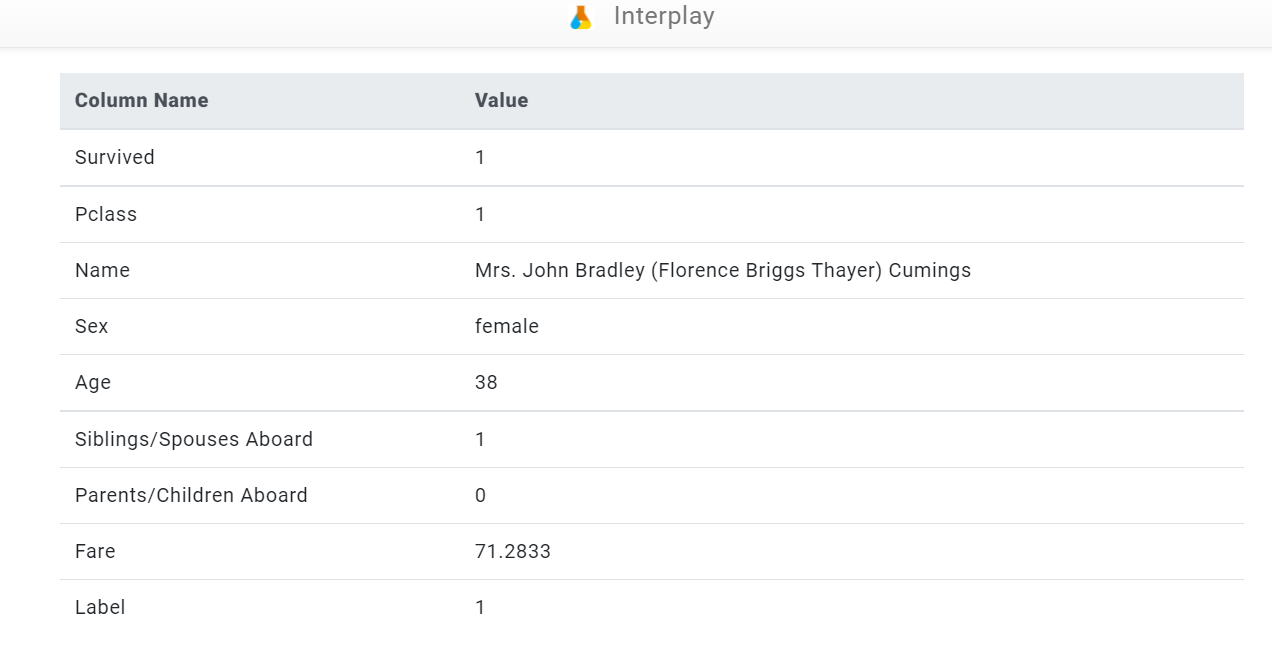
In this example, we will train an AI model using columns such as: passenger names, survivors, passenger class (Pclass), fares, parents, siblings, sex and age of people who traveled on the Titanic. After training the model, it will classify the most important category to the least important category.

Step 1.
Check for the Titanic.csv file in the appropriate storage path (/DATA/Classification/). If you couldn’t find the csv, upload the proper csv file in that path.


Step 2.
Drag and drop an Inject node and set the payload to timestamp and click done.

Step 3.
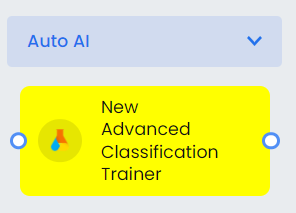
Drag and drop a New Advanced Classification Trainer node under Auto AI and name it appropriately to the relevant subject. Here it is named as Classification Trainer.
Step 4.
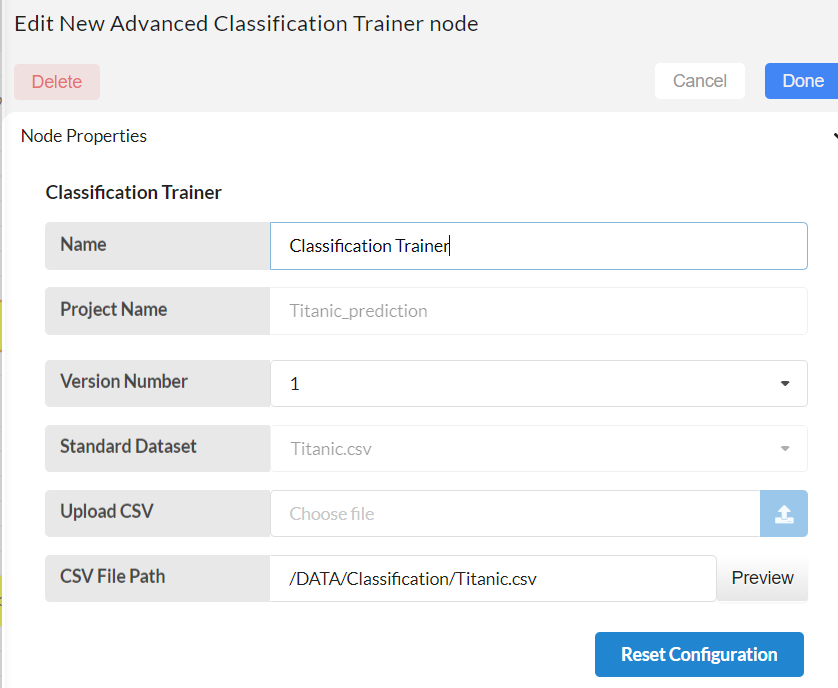
Change the name, project name and choose the dataset on the drop down menu. Check the CSV file path and click on Get Data.

Step 5.
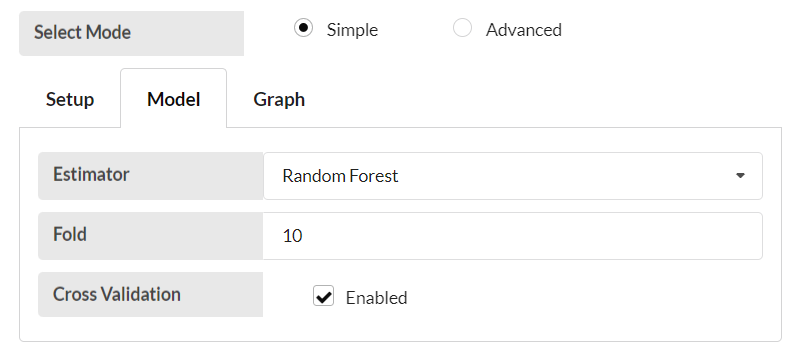
Select all the columns that need to be trained in “Selected Training columns” and select the column that needs to be trained for the target in “Target” according to your dataset.
Select a classification estimator in the Model tab.
In this example passenger class (Pclass), name, sex, age, siblings/spouses aboard, parents/children aboard and fare are trained in the selected training column while survived is trained in the target column and also Random Forest is selected as the estimator.
When you are ready click done and deploy.

Step 6.
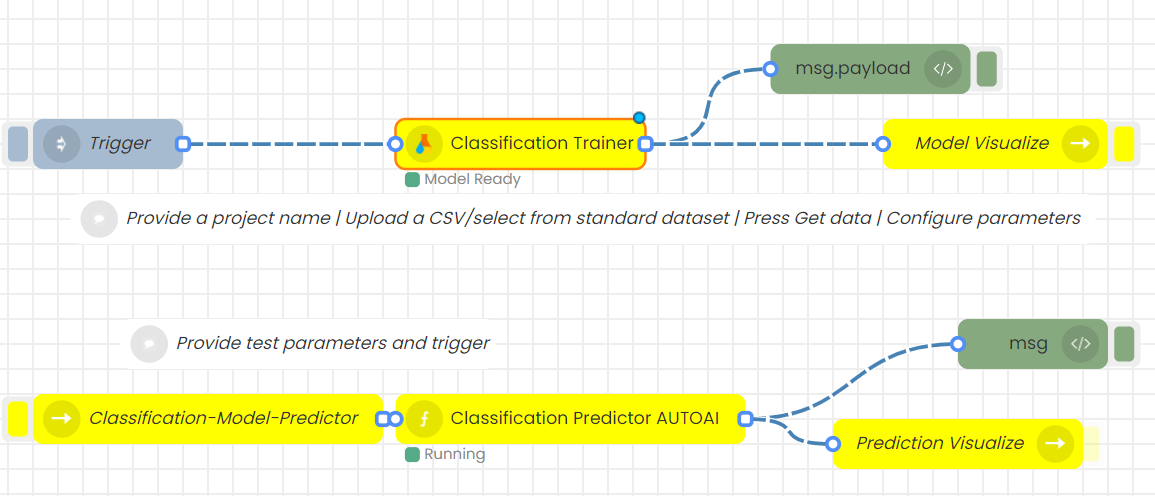
Drag and drop Model Visualize node, Classification-Model-Predictor node, Classification Predictor AUTOAI node and Prediction Visualize node to the flow. Connect all nodes as shown below and click on deploy.
Step 7.
Click on the left side button of Inject node to start training. Progress can be seen in the debug console.
When you see “Model Ready” under the Classification Trainer node, the classification model is trained successfully and can be visualized by triggering Model Visualize node (click on the right side button of the node)


Step 8.
In Classification-Model-Predictor node, select the project name and set the parameters for the test case. Press done and deploy.
Trigger Classification-Model-Predictor node (click on the left side button of the node) to predict the test case using the selected model. Trigger the Prediction Visualize node to view prediction result.