This flow will allow you to upload a dataset with labels as input and train a classification model. The trained model can be visualized. Predictions can be done for a selected dataset with trained classifiers.
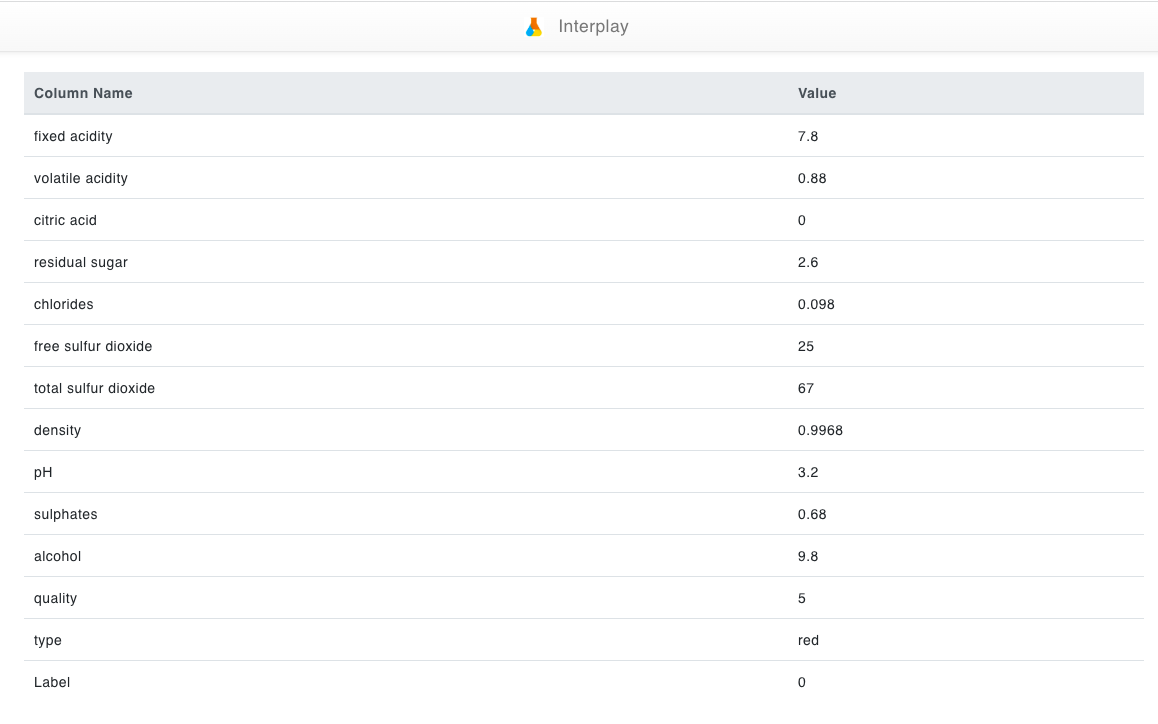
In this example, we look at a wine classification model and we'll train columns such as fixed acidity, volatile acidity, citric acid, residual sugar, chlorides, free sulfur dioxide, total sulfur dioxide, density, PH, sulfates, alcohol, quality and type of the wine. After training the model it will classify the most important to least important category. We will use "type" (type of wine) in the target column and the rest in the training column for this example.

Step 1.
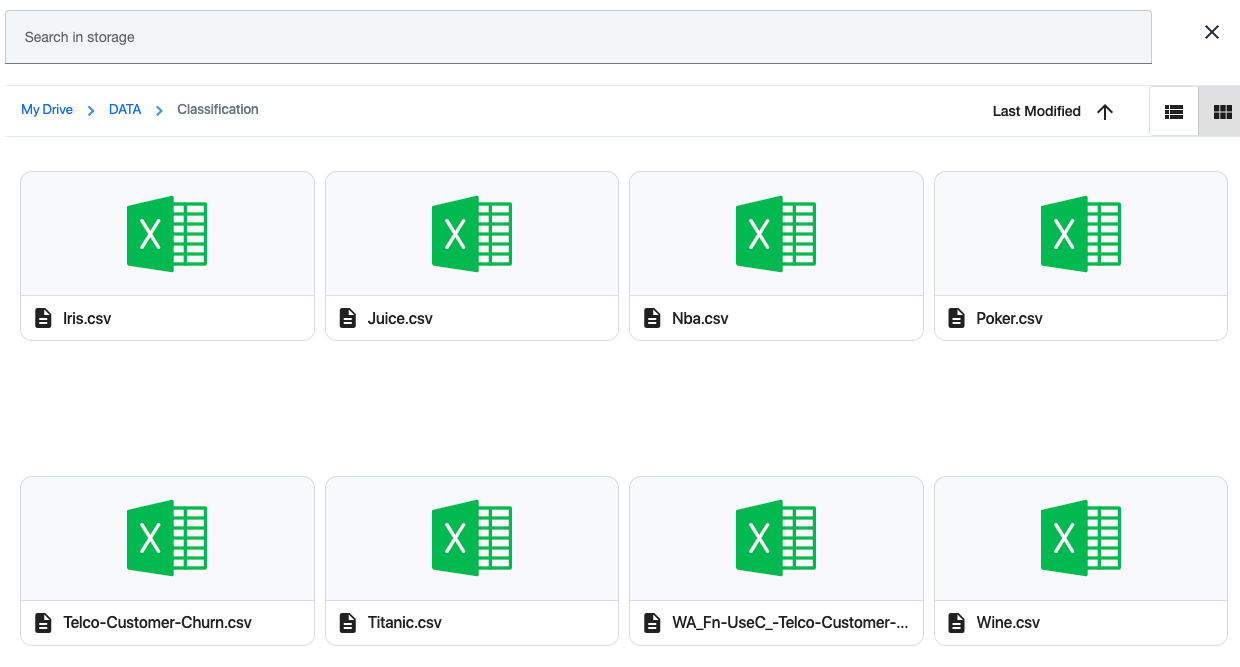
Check for the Wine.csv file in the appropriate storage path (DATA/Classification/). If you couldn't find the CSV, upload the proper CSV file in that path.

Step 2.
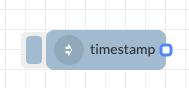
Drag and drop an Inject Node set the payload to timestamp and click done.
Step 3.
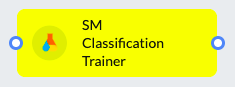
Drag and drop a New Advanced Classification Trainer node under Auto Ai and name it to the relevant subject. Here it's named as SM-Classification Trainer.
Step 4.
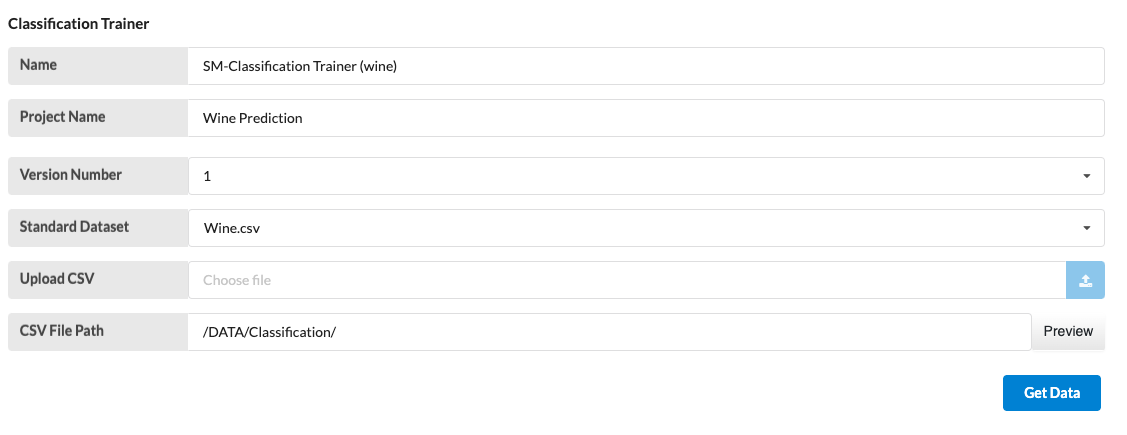
Change the name, project name, and choose the dataset on the drop-down menu. Check the CSV file path and click on Get Data.
Step 5
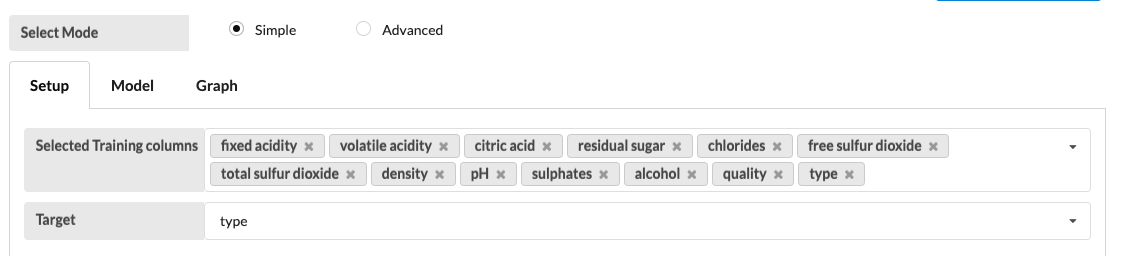
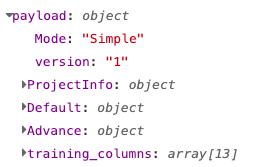
Select all the columns that need to be trained in "Selected Training columns" and select the column that needs to be trained for the target in "Target" according to your dataset.
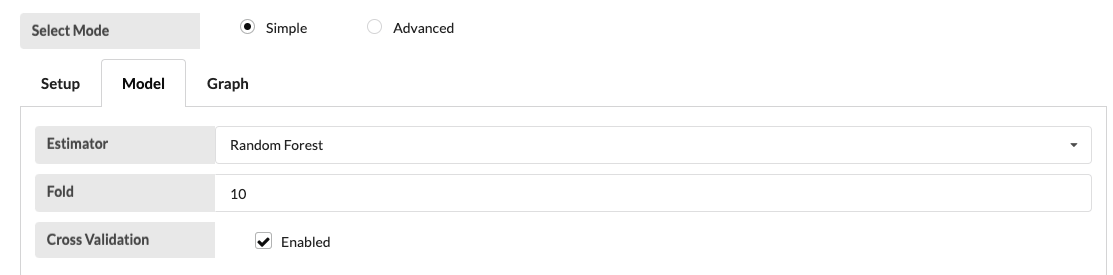
Select a classification estimator in the Model tab.
In this example, fixed acidity, volatile acidity, citric acid, residual sugar, chlorides, free sulfur dioxide, total sulfur dioxide, density, PH, sulfates, alcohol, and quality are trained in the selected training column while type in the target column and also Random Forest is selected as an estimator.
when you are ready click done and deploy.
Step 6.
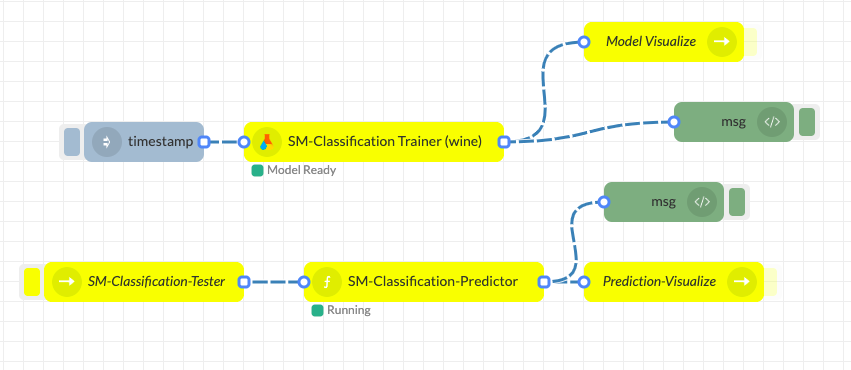
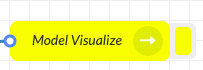
Drag and drop Model Visualize node, SM-Classification Tester node, SM-Classification Predictor node, Prediction Visualize node, and two console nodes (change them to complete msg object in the output drop-down menu) to the flow. Connect all nodes as shown below and click on deploy.
Step 7.
Click on the left side button of the inject node (timestamp) to start training. The Classification trainer indicates being training (from idle) and when it's done training it will say model ready.

Progress can be seen in the debug console.


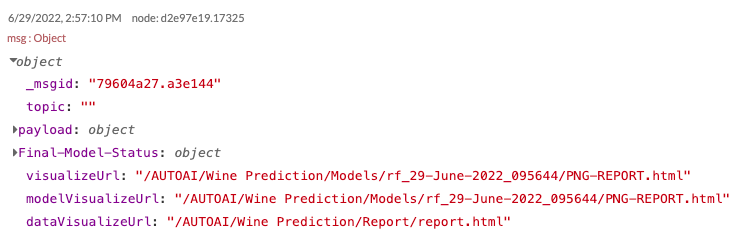
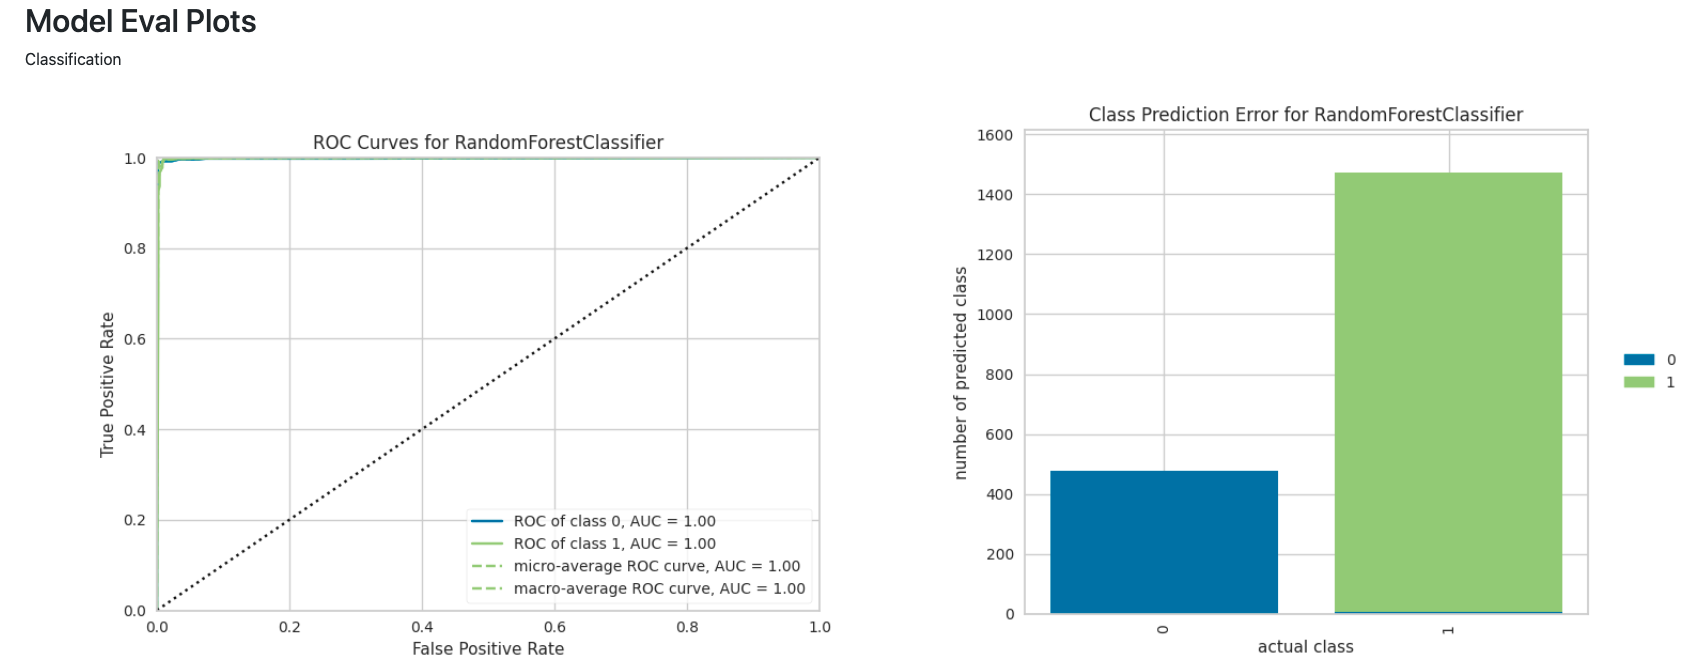
When you see “Model Ready” under the SM-Classification Trainer (Wine) node, the classification model is trained successfully and can be visualized by triggering the Model Visualize node (click on the right-side button of the node)
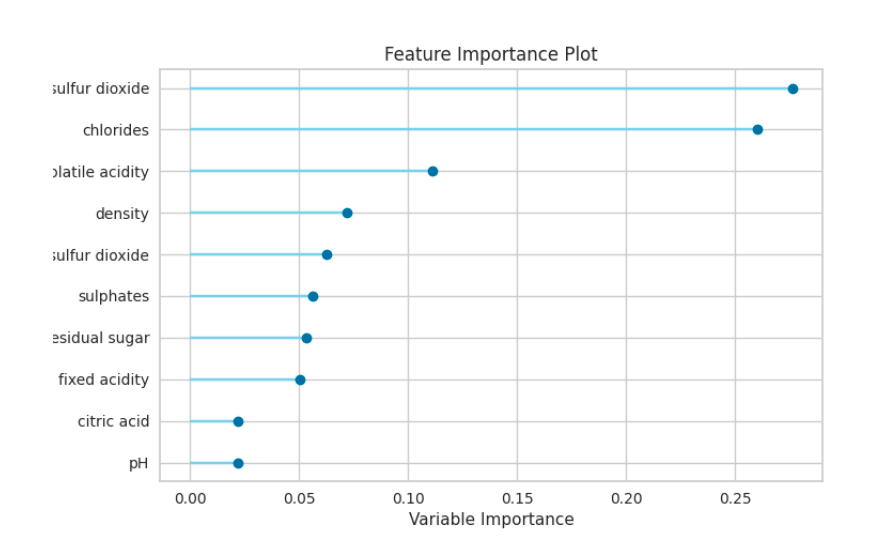
After training the classifier model it has been categorized from the most important to the least important on the importance plot chart. In this example, the most important category is total sulfur dioxide in the wine as opposed to the least important category being the Ph levels of the wine because ph levels of the wine are not as important as the total sulfur dioxides in the wine.
Step 8.
In the SM-Classification-Tester node, select the project name (Wine.csv) and set the parameters for the test case along with the version number. Connect the SM-Classification-Tester node to the SM-classification predictor and connect that to the SM-Prediction Visualize node. Trigger the SM-Classification-Tester (click on the left side button of the node) to predict the test case using the selected model. Trigger the SM-Prediction Visualize node to view the prediction result. As you can see here's the prediction result.