
Here in this example, we created a simple classification model for detecting Skin Cancer patients by classifying their skin specimen Image as Benign (Non-Cancer) or Malignant (Possibly cancerous) one.
Training Specimen :
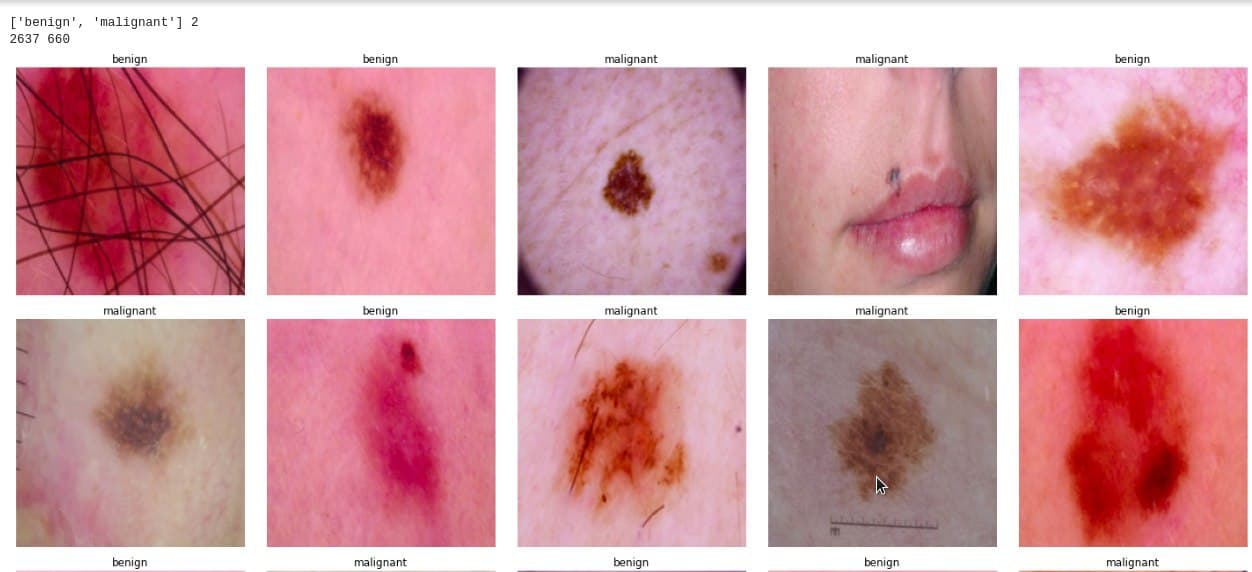
Output:
Steps
1) Search for 'inject' node which looks like this: 
Search for the 'function' node which looks like this :
The 'console' node is optional and can be used for viewing console output when development is needed, search and drop in the editor. This node looks like this :
2) Drop and connect these nodes to create flow as shown in figure (for this example, we named: to host our main flow, Here We renamed "Python function" to "Dir-maker" which can be done by double-clicking and giving it name using "Name" : 
3) Prior to training a model (In this case of the classification model), we need to create a directory structure for the project which is as : 
Here we are making a python script that simplifies the process of generating a directory for our models, specimens, and results.
Dir-Maker
import os

 path = './public/private/Image_Classification/'
 project_name = path + "skin-cancer"
 required_dir_struct = ['Dataset','Temp','Executed_NB','Models','Results','QueryImages']
 for folder in required_dir_struct:
 try:
 os.mkdir(project_name+'/'+folder)
 except OSError as error:
 print(error)
 status = 'Dir struct has been created !'
 msg['payload'] = status
return status
This will create Directories as a script for viewing directory click on:

We can see the directory structure Generated as:
4) Create a new node with the same 'inject', 'Python 3' (Trainer) Node, 'HTTP output', 'console' and connect them as shown in the figure : Here "Trainer" same node renamed from "Python 3 function".
The Fastai framework is used for training a model for this project as the Fastai background works on Jupyter notebook.
Code in: Trainer
import subprocess
 import papermill as pm
 import os
 from os import path
 # Fastai : 1.0.61 : path : /interplay_v2/public/private/Fastai-ENV/bin/python
 # Dependency : p2j , papermill , python kernal
 # jupyter lab : https://github.com/jupyterlab/debugger
 #---------------------------------------------------------------------------------------------------+
 # PATHS
 #
 #---------------------------------------------------------------------------------------------------+
 def execute():
 result_json=pm.execute_notebook("/interplay_v2/public/private/Image_Classification/skin-cancer/ImgClassification-v2
-Generic.ipynb","/interplay_v2/public/private/Image_Classification/skin-cancer/Executed_NB/executed-img-class-v2.ipynb",
 parameters = dict(
 CYCLE = 1 ,
 PROJECT_NAME = "skin-cancer",
 INTERPLAY_ROOT =
 "/interplay_v2/public/private/Image_Classification/",
 ))
 return result_json
 final_execute = execute()
 msg['payload'] = final_execute
5) Click on "Deploy", after Successful deployment notification, we can trigger nodes as we desire,
6) Click on the Trigger point of the inject node (Highlighted) :

7) After triggering the second node initiates the Jupyter notebook consisting of Training AI with predefined parameters, we can see the console parameter output similar to this :

after triggering the third flow (Predictor) wait for some time for classification output and segregated as Benign and Malnigant one are stored in our working directory in the 'Results' folder.
